Are you struggling with blurry or low-quality photos that are so precious that you want to make them sharper and more vivid? Well, with PixFlow Photo Editor, you can transform their quality using cutting-edge AI technology. Here's a straightforward guide on how to enhance your photo quality in just a few easy steps. Let's get started.
01 Download & Install
Go to the official web page of PixFlow Photo Editor or simply press the "Free Trial" button on this webpage. Install and activate it on your computer. To either create an account or log in, click on the "Log in" button.
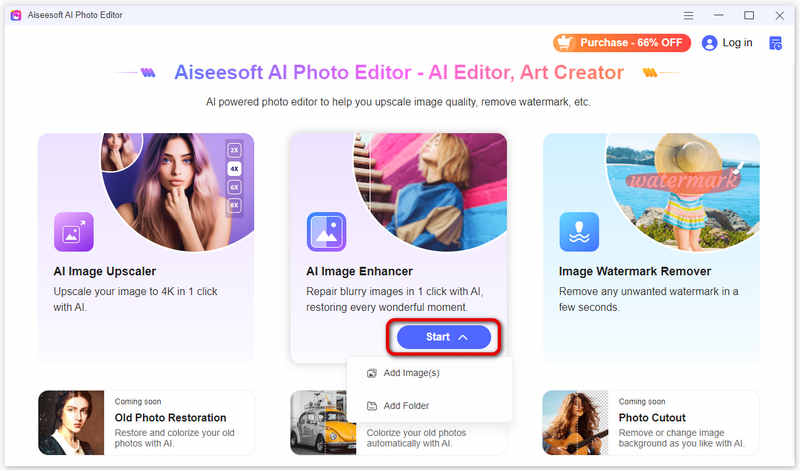
02 Upload the Original Photo
To improve the quality of your blurry or low-quality photos, navigate to the AI Image Enhancer section to directly upload your images.
03 Start Enhancing Your Photo
Once uploaded, the image will be automatically enhanced. You may need to wait for a few seconds. After it finishes, you can view the enhanced version in the preview.
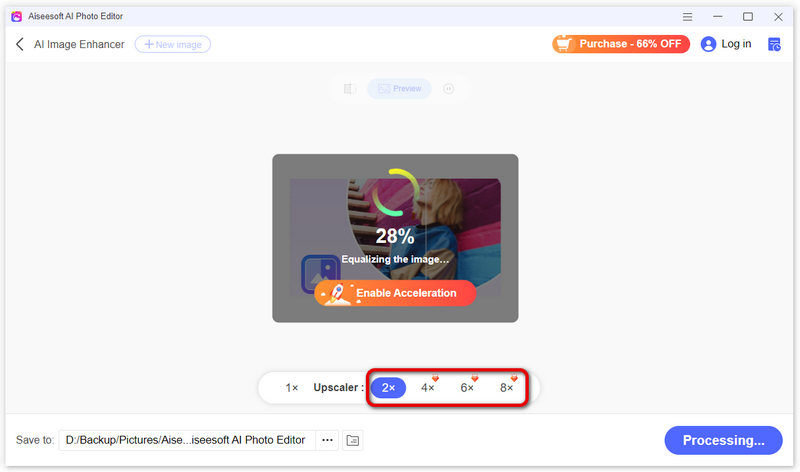
04 Preview and Adjust the Enhanced Photo
For an even clearer image, you have the option to enhance the image resolution, ranging from 2×, 4×, 6×, to 8×, depending on your preferences. You can try to readjust the resolution for a better result.
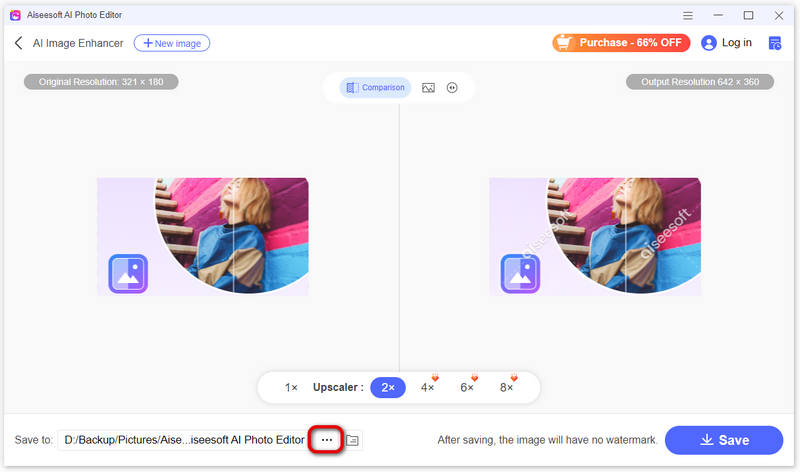
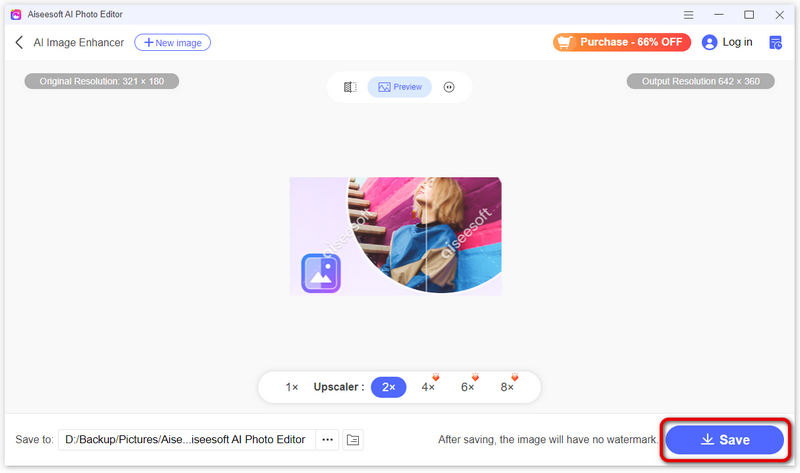
05 Export the Upscaled Photo
Once you've achieved the desired result, you can export them by clicking "Save". If you want to enhance another image, you can click the plus button on the top to add another photo.
Note: if you are using the free trial version, you cannot export the enhanced photo. Please check the Buy Now button to purchase a full version so that you can save and use the photo processed with PixFlow Photo Editor.
Feel free to contact our Support Team. We'll get back to you within 24 hours on working days.
Contact Us